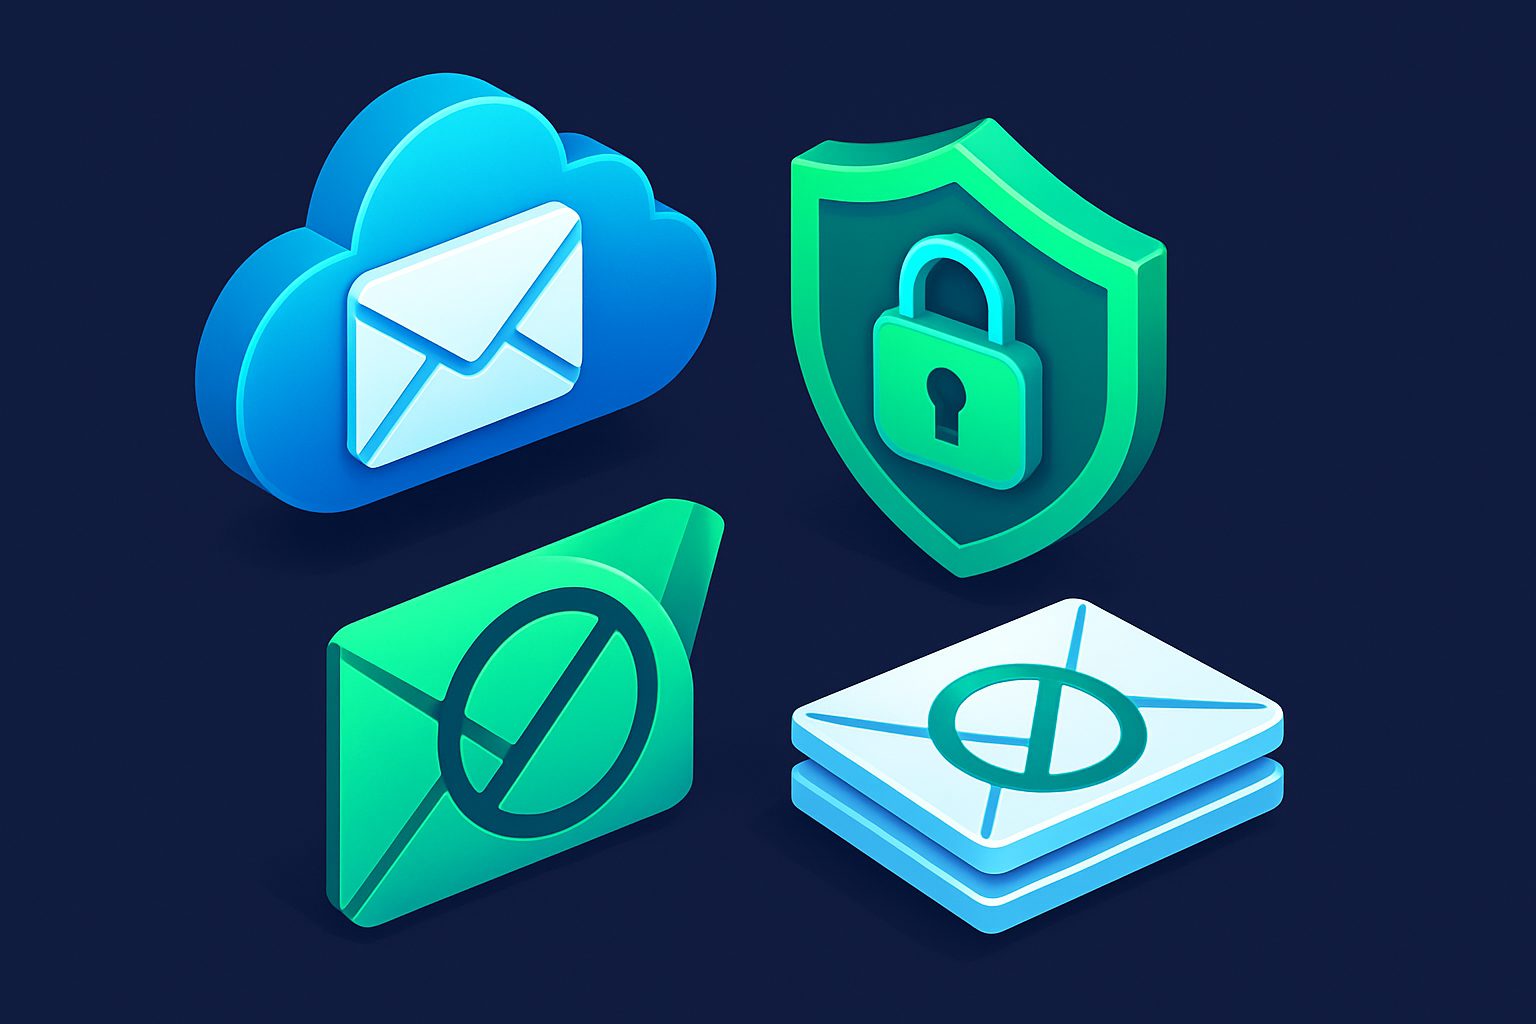
How to Block Emails on iCloud - A Step-by-Step Guide
Your iCloud inbox is filling up with emails you never asked for. Maybe it is a persistent marketer, an ex-colleague, or a service you signed up for years ago. You want it gone, but Apple does not make it obvious how to block emails on iCloud across all your devices.
The good news: you can block senders on iCloud. The bad news: the process varies by device, the blocking does not always sync the way you expect, and Apple's built-in tools have real limitations. This guide walks you through every method, step by step, so you can take back control of your inbox.
Quick Overview: iCloud Blocking Methods Compared
| Method | Where | Syncs across devices? | Blocks before delivery? | Bulk blocking? |
|---|---|---|---|---|
| Block Contact (iOS) | Mail app on iPhone/iPad | No — device only | No — filters locally | No |
| Block Contact (Mac) | Mail app on macOS | No — device only | No — filters locally | No |
| Mail Rules (iCloud.com) | iCloud.com in browser | Yes — server-side | Yes | One rule at a time |
| Alias service (e.g. Cleanbox) | External dashboard | Yes — server-side | Yes — before IMAP delivery | Yes — contact states + filters |
How to Block Emails on iCloud Using iPhone or iPad
Blocking a sender on your iPhone or iPad is the most common starting point. Here is exactly how to do it:
- Open the Mail app on your iPhone or iPad.
- Find an email from the sender you want to block.
- Tap the sender's name or email address at the top of the message.
- Tap it again when it expands to show the full address.
- Select Block this Contact from the options that appear.
- Confirm by tapping Block this Contact again.
Once blocked, emails from that sender will still arrive, but they will be marked and can be automatically moved depending on your settings.
Configuring What Happens to Blocked Mail on iOS
By default, blocking a contact on iOS does not delete their emails. You need to configure this separately:
- Open Settings on your iPhone or iPad.
- Scroll down and tap Mail.
- Scroll to the Threading section and find Blocked Sender Options.
- Choose one of the options: None, Mark as Blocked, Leave in Inbox, or Move to Trash.
If you want blocked emails gone for good, select Move to Trash. Otherwise, they will stay in your inbox with a visual indicator that the sender is blocked.
Managing Your Blocked List on iOS
To review or remove blocked contacts on your iPhone or iPad:
- Go to Settings → Mail.
- Tap Blocked.
- You will see a list of all blocked contacts. Swipe left on any entry to unblock them, or tap Edit to remove multiple.
How to Block an Email on iCloud Using Mac Mail
If you primarily use your Mac for email, you can block senders directly from the Mail app on macOS:
- Open Mail on your Mac.
- Find a message from the sender you want to block.
- Hover over or click the sender's name in the message header.
- Click the small arrow that appears next to their name.
- Select Block Contact from the dropdown menu.
Alternatively, you can right-click (Control-click) on a message in your inbox, then choose Block Contact from the context menu.
Adjusting Blocked Mail Behavior on macOS
To change how macOS handles blocked email:
- In Mail, go to Mail → Settings (or Preferences on older macOS versions).
- Click the Junk Mail tab.
- Under Blocked, configure whether blocked messages should be left in the inbox or moved to trash.
Note that on macOS Ventura and later, the settings layout may differ slightly, but the options remain the same.
How to Block Emails via iCloud.com
If you access your iCloud email through a browser, the approach is different. iCloud.com does not have a direct "block sender" button. Instead, you create mail rules:
- Go to icloud.com/mail and sign in.
- Click the gear icon in the lower-left corner (or the Settings icon at the top, depending on the version).
- Select Rules.
- Click Add a Rule.
- Set the condition: "is from" and enter the sender's email address.
- Set the action: "Move to Trash" or "Move to a folder".
- Click Done.
This is the only way to block senders on iCloud.com, and these rules run server-side, meaning they work regardless of which device you use to read your mail.
Creating iCloud Mail Rules for More Control
Simple blocking handles individual senders, but what about entire domains, keywords in subject lines, or patterns in email addresses? iCloud mail rules give you a bit more flexibility.
Blocking an Entire Domain
To block all email from a specific domain (for example, all email from @spamcompany.com):
- Go to iCloud.com → Mail → Settings → Rules.
- Create a new rule.
- Set the condition to "is from" and enter the domain (e.g., spamcompany.com).
- Set the action to "Move to Trash".
Filtering by Subject Line
You can also filter based on the subject line:
- Create a new rule in iCloud.com mail settings.
- Change the condition to "Subject contains" and enter the keyword or phrase.
- Set the action to "Move to Trash" or another folder.
These rules are limited to simple conditions. You cannot combine multiple conditions in a single rule, and you cannot use regular expressions or wildcards.
Limitations of iCloud Email Blocking
Apple's email blocking tools work for basic cases, but they have significant limitations you should understand before relying on them entirely.
Blocking Does Not Sync Perfectly Across Devices
This is the most frustrating limitation. When you block a sender on your iPhone, that block applies to your iPhone's Mail app. It does not always sync to your Mac or to iCloud.com rules. The reverse is also true: a rule created on iCloud.com works server-side, but it does not add the sender to the blocked list on your iPhone.
In practice, this means you might block someone on your iPhone and still see their emails on your Mac. To get consistent blocking, you need to either block the sender on each device individually or create a server-side rule on iCloud.com.
No Pattern Matching or Advanced Filters
iCloud rules are basic. You cannot match email addresses with patterns (no regex, no wildcards like *@domain.com). You cannot create rules based on message headers, attachment types, or sender reputation. Each rule handles one simple condition.
No Bulk Blocking
There is no way to block multiple senders at once. If you have 50 unwanted senders, you need to create 50 individual blocks or rules. There is no import/export feature for block lists.
Blocked Senders Can Still Reach You
When you block a sender on iOS or macOS, the email is still delivered to your iCloud mailbox. It is filtered locally by the Mail app on that specific device. The sender has no idea they are blocked, and the email still consumes your iCloud storage. Only server-side rules on iCloud.com actually prevent the email from sitting in your inbox across all devices.
Limited Rule Count
iCloud.com allows a maximum of 500 mail rules. If you are managing a lot of unwanted mail, you can run into this limit surprisingly fast.
iCloud Block Email - Common Questions
Does Blocking Someone on iCloud Send Them a Notification?
No. The sender receives no indication that they have been blocked. Their emails are still accepted by iCloud's mail servers. The filtering happens on your device or via your server-side rules.
Can I Block Emails From an Entire Country or Language?
iCloud does not offer this capability. You cannot filter by geographic origin, IP address, or language of the email content.
What Is the Difference Between Blocking and Filtering to Junk?
Blocking a contact specifically targets one sender and lets you choose what happens to their messages. Junk mail filtering is automatic and uses Apple's detection algorithms to identify likely spam. They serve different purposes: blocking is for known unwanted senders, and junk filtering is for unknown spam.
Will Blocking Work for iCloud+ Hide My Email Addresses?
Yes. If you use iCloud+ Hide My Email to generate random addresses, you can block senders on those addresses just like your main iCloud address. However, a simpler approach is to just deactivate the Hide My Email address entirely if it is receiving unwanted mail.
When iCloud Blocking Is Not Enough
iCloud's blocking works for straightforward cases: a known sender you want to stop hearing from. But if you are dealing with persistent spam, senders who rotate addresses, or you want consistent cross-device protection, Apple's tools fall short.
The core problem is that iCloud blocking is device-specific and reactive. You block one address at a time, after the email has already arrived, and the block only applies where you set it.
Services like Cleanbox take a different approach. Instead of blocking individual senders after the fact, Cleanbox uses contact states that work at the server level before the email reaches any device. When you block a sender in Cleanbox, it applies instantly across every email client you use, whether that is Apple Mail, Gmail, Outlook, or anything else. No per-device configuration, no sync issues.
For more ways to handle unwanted email across different providers, see our guide on how to block emails on Gmail, Outlook, iCloud, and Yahoo. And if you are tired of the unsubscribe game, take a look at how to stop getting emails without unsubscribing.
Summary
Blocking emails on iCloud is possible but requires knowing which method to use on each platform. For quick blocks, use the Mail app on your iPhone, iPad, or Mac. For reliable cross-device blocking, create server-side rules on iCloud.com. Just be aware that Apple's tools are limited in scope and do not sync consistently between devices. If you need more robust email filtering, consider a dedicated email management service that works independently of your email client.
Ready to take control of your inbox?
Start protecting your email with Cleanbox — free plan available, no credit card required.
Get started free